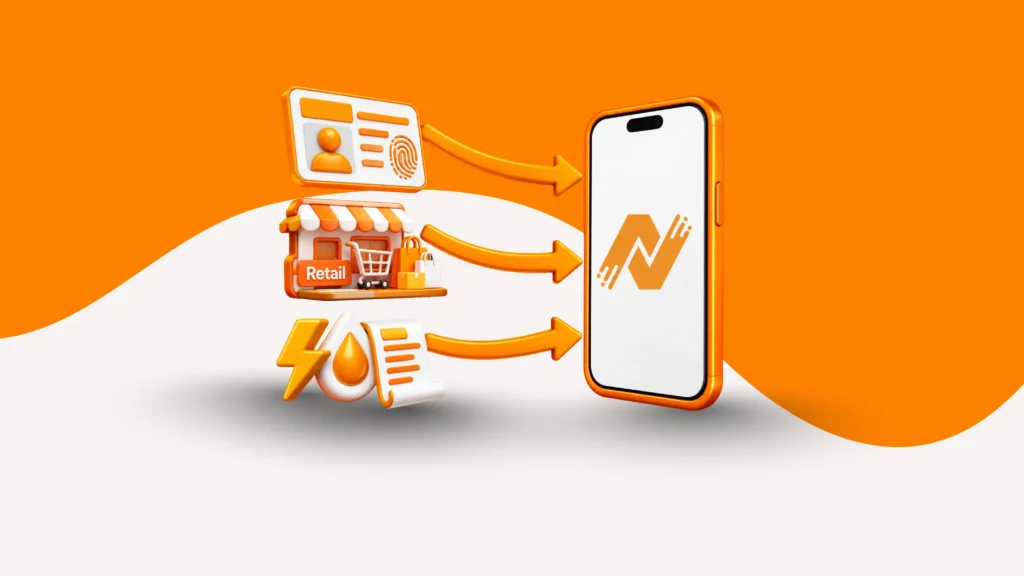

If you run an Online store or a service based business in Pakistan, sooner or later you’ll ask the same question: “How do I actually start accepting payments on my website?” Between bank transfers, eWallets, QR Code, Whatsapp Payments, and cards, customers expect to pay in whatever way is easiest for them. A payment gateway is what makes that possible, but the process of setting one up can feel confusing if nobody has walked you through it before.
This guide breaks down the entire journey, from picking a gateway to going live on your website, so you know exactly what to expect at every stage, what documents to keep ready, and how long each step usually takes.
What Is a Payment Gateway, and Why Does Your Website Need One?
A payment gateway is a technology that allows businesses to accept payments from customers online. It acts as a bridge between your website, the customer, and the bank. When a customer makes a payment, the payment gateway securely captures their payment details, verifies them with the bank, and returns a success or failure response within seconds.
Without this, you’re stuck asking customers to transfer money manually and send you a screenshot, which slows down sales and looks unprofessional. A proper gateway lets you accept cards, Easypaisa, JazzCash, bank transfers, and other wallets directly on your site and settles the funds into your business account on a set schedule.
Step 1: Choose the Right Payment Gateway
You must choose a payment gateway that effectively aligns with your company to avoid any technical problems. Here are some common suggestions to look into:
- Multiple payment options it accepts like cards, Raast, wallets like JazzCash and Easypaisa, 1LINK, QR Code.
- Whether it’s created specifically for your platform such as WordPress, WooCommerce, Shopify, or a custom website.
- The settlement speed and whether the payout schedule aligns with your cash flow requirements.
- Does the gateway comply with State Bank of Pakistan regulations?
- The quality of support you’ll get once you’re live, not just during sign-up
AssanPay, for example, supports Visa, Mastercard, Easypaisa, JazzCash, Upaisa, 1LINK, Zindigi, Raast QR, all managed from a single merchant dashboard, and works across WordPress, WooCommerce, Shopify, and custom platforms. Even though they also offer Whatsapp Payments allowing businesses to accept payments and engage with customers more efficiently.
Step 2: Get Your Documents Ready Before You Apply
The majority of individuals skip this stage, which is precisely what determines how quickly your onboarding process proceeds. Before authorizing a merchant, every payment gateway in Pakistan conducts KYC checks. As a result, you will need to provide basic documentation of your identity and business legitimacy, such as your NTN, CNIC, registration certificate, and settlement bank data. The precise checklist varies slightly depending on the sort of business, and not everything needs to be prepared right away. However, your file will pass inspection more quickly if you are prepared up front.
Step 3: The Initial Consultation
It’s better to communicate with an onboarding agent, describe your company’s operations, enquire about pricing and settlement schedules, and determine whether the platform is truly a suitable fit before committing to any paperwork. Making good use of this call is worthwhile. Find out about settlement frequency, MDR (Merchant Discount Rate) fees, and post-launch support.
Step 4: Submit the Onboarding Form
Once you’re ready, you’ll fill out an official onboarding form with your business details such as:
- Company name,
- Contact information,
- Business address,
- Website
- Business type and Business nature,
- Expected monthly transactions and volume,
- Your bank account details for settlements.
This is also where you upload the documents from Step 2, so keeping them saved in one folder beforehand makes this part quick.
The form also asks you to select your business type, since this decides exactly which documents apply to you. Common categories include Sole Proprietorship, Private Limited Company, Public Limited Company, Partnership, Limited Liability Partnership, and NGO/Charity or Trust and Society. Picking the right one upfront helps the compliance team review your file faster.
Step 5: Compliance and KYC Review
This is an essential step because gateways are regulated organisations and must verify the legitimacy of each merchant they onboard. The evaluation usually takes 10 to 12 business days, depending on the source. Another reason to have the entire documentation ready from the beginning is to analyze a follow-up request if anything is confusing or missing.
Step 6: Sign the Merchant Agreement
The terms and conditions of your collaboration, including MDR fees, settlement deadlines, and other service requirements, are outlined in this agreement. Before signing, carefully read it. You formally enter the technical stage if both parties have signed.
Step 7: Technical Integration
The real integration takes place here. Your merchant portal credentials, API keys, and technical documentation will be sent to you once the contract is signed. Your platform will determine how this step appears:
- WordPress or WooCommerce
You install the gateway’s plugin, activate it, and enter your API keys in the settings. Most of the checkout flow is handled by the plugin itself, so you don’t need to touch any code. For a detailed guide, see our full blog: Best Payment Gateway for WooCommerce Store in Pakistan
- Shopify
You add the gateway from Shopify’s payment settings and connect it using your merchant credentials. Learn more about integrating payments in our step-by-step guide: Best Payment Gateway for Shopify in Pakistan
- Custom-Built Website
Your developer integrates the gateway’s API directly into your checkout page. This gives you more flexibility, but it does need a developer familiar with API integration, so budget time for testing here.
Good gateways provide developer-friendly documentation and plugins specifically so that this step doesn’t require a large technical team. AssanPay, for instance, provides a dedicated integration guide and support at this stage so merchants aren’t left figuring things out alone.
Step 8: Test Before You Go Live
Before your gateway processes real customer payments, you’ll go through a testing phase. Transaction limits are usually kept low during this period so you can confirm that payments are going through correctly, confirmations are triggering properly, and money is landing in the right account, without any risk if something needs adjusting.
Before proceeding, kindly perform a few real transactions of various kinds and examine your dashboard, email confirmations, and settlement reports.
Step 9: Go Live
Your account has been set to “Live” status after testing is finished and everything checks out okay. Your website is now prepared to take full-scale payments from clients since transaction restrictions have been removed. Every transaction then goes through your merchant dashboard, where you may create reports, manage payments, and keep an eye on settlements.
Don’t want to do this alone?
Skip the manual setup, our team will integrate your payment gateway for free.
Get Free Setup Help →
What Takes Place After You Go Live
Integration is actually the beginning of everyday operations rather than the end. After you go live, you’ll have to deal with:
- A merchant dashboard for real-time transaction tracking and reporting.
- Automated settlements, and faster payout such as (T+1 OR T+2), or on whatever schedule was agreed in your contract.
- Fraud checks and OTP verification are running in the background on every transaction.
- Ongoing support for any technical issues or payment disputes that come up.
AssanPay provides merchants with a consistent dashboard and round-the-clock support to make tracking, reconciling, and settling payments easy even as your business expands.
Frequently Asked Questions
01: Do I need a registered business to get a payment gateway?
Most gateways require some form of business registration, though the exact requirements vary by business type, sole proprietorships, private limited companies, and partnerships each have different document checklists.
02: How long does the whole process take?
It depends on how quickly you submit documents and how complete they are, but compliance review alone usually takes around 10 to 12 business days, plus time for technical integration and testing.
03: Can I integrate a payment gateway without a developer?
If your website runs on WordPress, WooCommerce, or Shopify, plugin-based integration usually doesn’t need a developer. Custom-built websites will need one for the API integration.
04: What happens if my documents are incomplete?
Your compliance review will be paused until the missing documents are submitted, which extends your onboarding timeline. It’s worth double-checking your document list before you submit the form.
Ready to Get Started?
Setting up a payment gateway sounds like a lot of steps on paper, but with the right documents ready and a provider that actually walks you through it, most businesses go from application to accepting live payments within a few weeks. If you’re exploring your options, AssanPay’s onboarding team can walk you through document requirements, integration, and testing so your website is ready to accept secure payments without the guesswork.